Hello, my name is Yamapan. In this tutorial, I will show you how to capture packets on a Windows machine and view them in Wireshark.
Capturing packets on a Windows machine
0.In an administrator command prompt, execute the following commands to clear cache information:
ipconfig /flushdns
nbtstat -R
certutil -urlcache * delete
1.Use the netsh command in an administrator command prompt to start capturing packets
netsh trace start capture=yes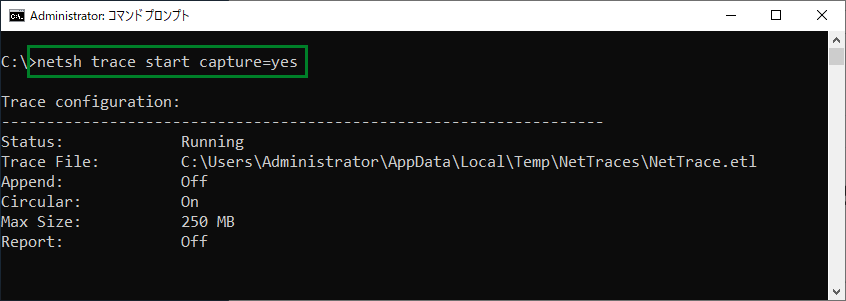
2.Use the netsh command in an administrator command prompt to stop capturing packets:
netsh trace stop
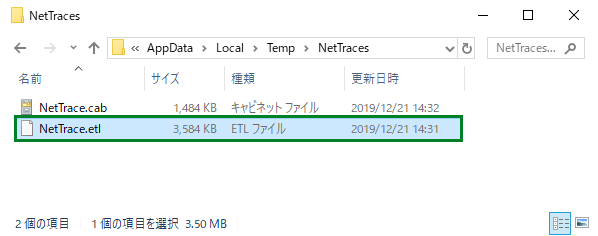
- The packet capture file will be located at C:Users
AppDataLocalTempNetTracesNetTrace.etl.
Converting for viewing in WireShark
-
Install etl2pcapng
Download and extract the zip file from the etl2pcapng site (https://github.com/microsoft/etl2pcapng/releases). -
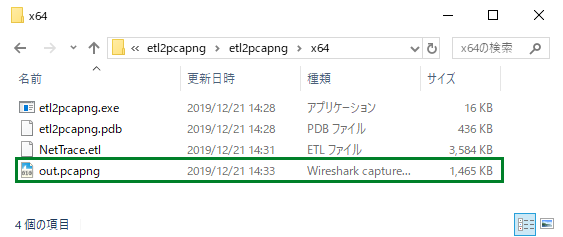
Execute the following command to convert the file:
etl2pcapng.exe <パケットキャプチャーファイル> <出力ファイル>
-
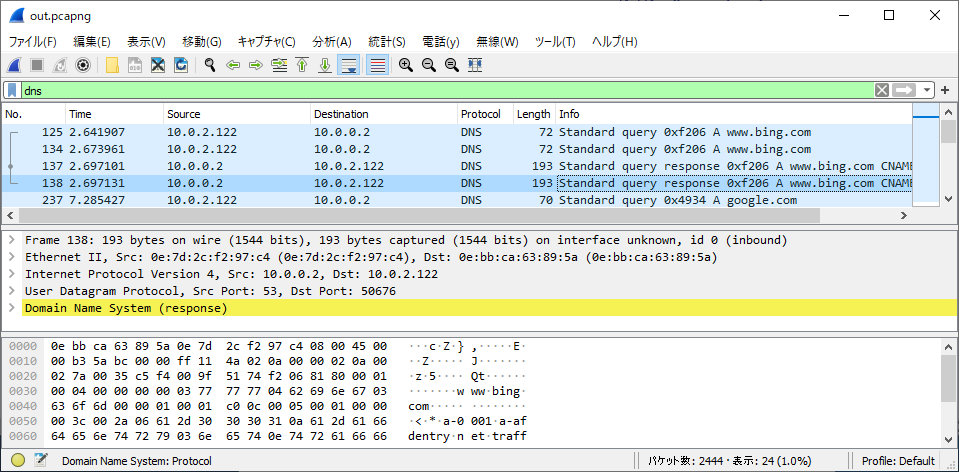
Verify that the converted file can be opened in Wireshark.